How to correctly mount your saddle
The saddle, when correctly chosen, allows you to make the most of your bike every time you climb on it, but only if mounted correctly. Once the ideal saddle has been purchased, it is therefore essential to install it correctly to avoid the inconvenience that postural and physical discomfort caused by incorrect installation could cause over long distances.
There are three saddle adjustments to which we must pay attention to enjoy the cycling experience to its fullest: height, setback and inclination.
1. How to establish the correct saddle height
The saddle height (as well as the other positioning parameters) has a direct influence on problems such as back or knee pain. It is therefore of primary importance to establish and control this parameter.
Here are two methods for establishing the correct saddle height: the first is empirical, based on a mathematical formula, the second is faster but less precise.
Method 1
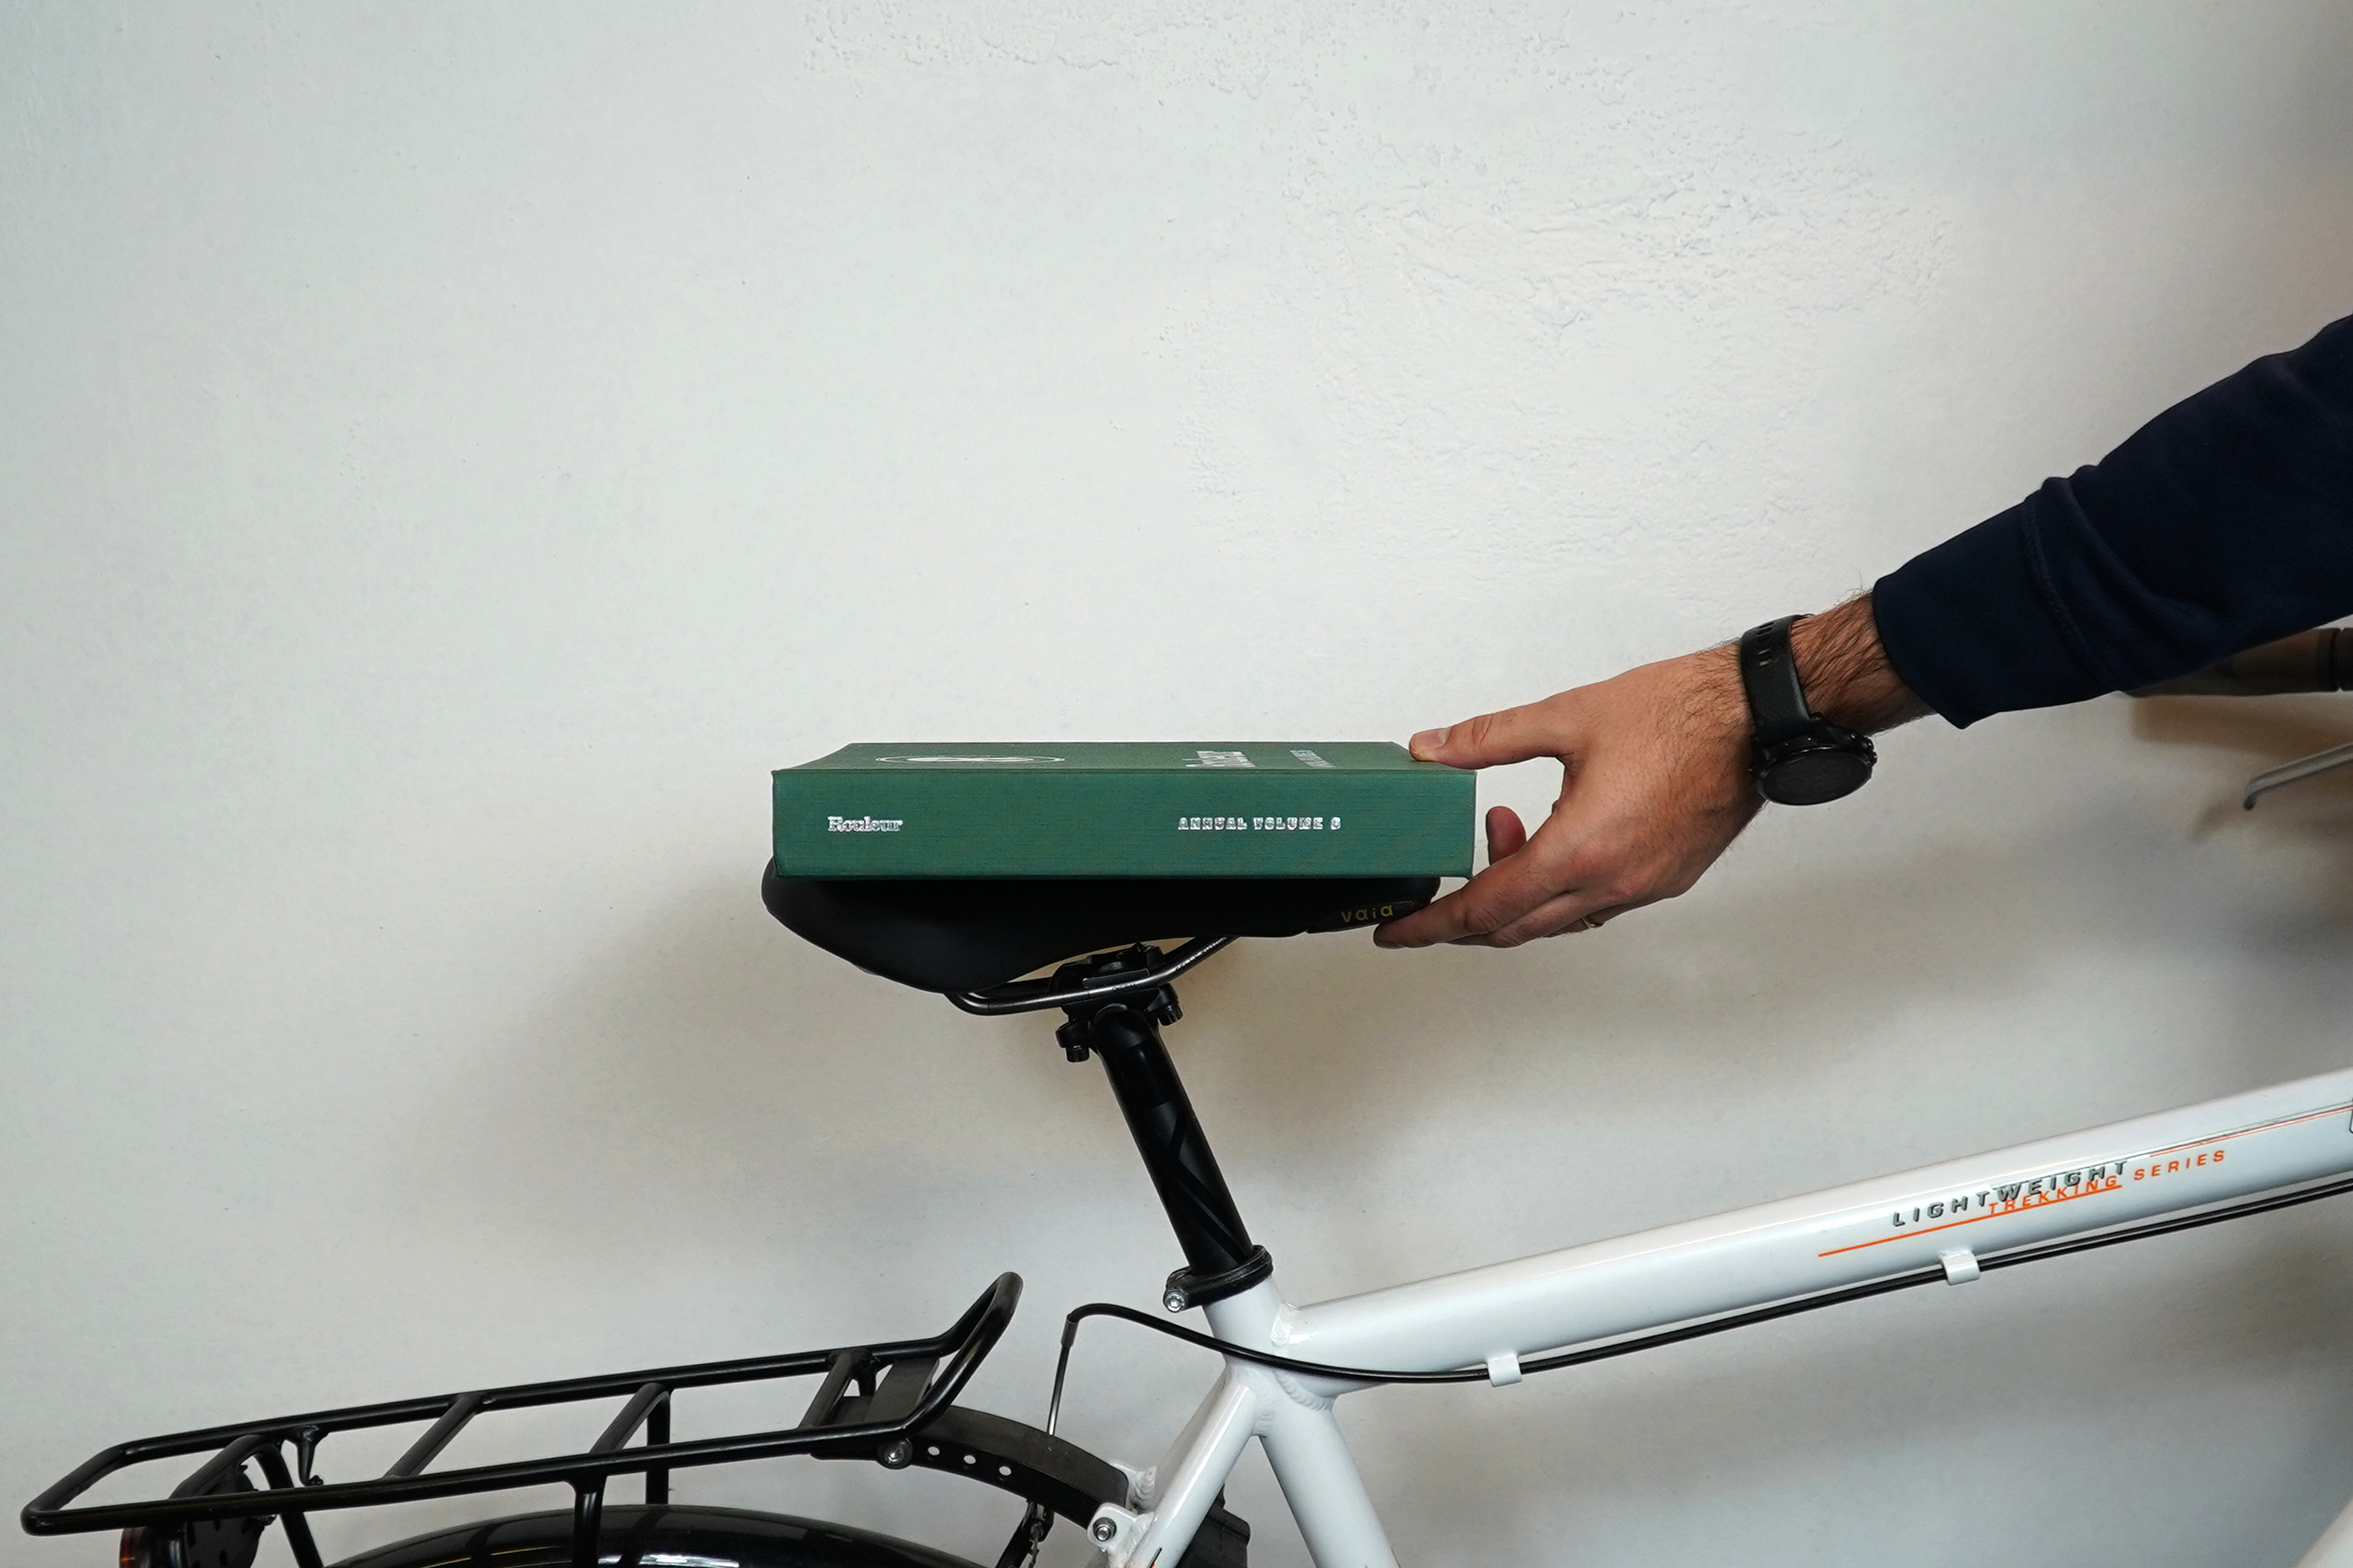
First measure your ‘horse’: standing, barefoot, put a book between your legs (which simulates the support in the saddle) and ask another person to measure the distance between the ground with the meter and the top of the book. That's your horse.
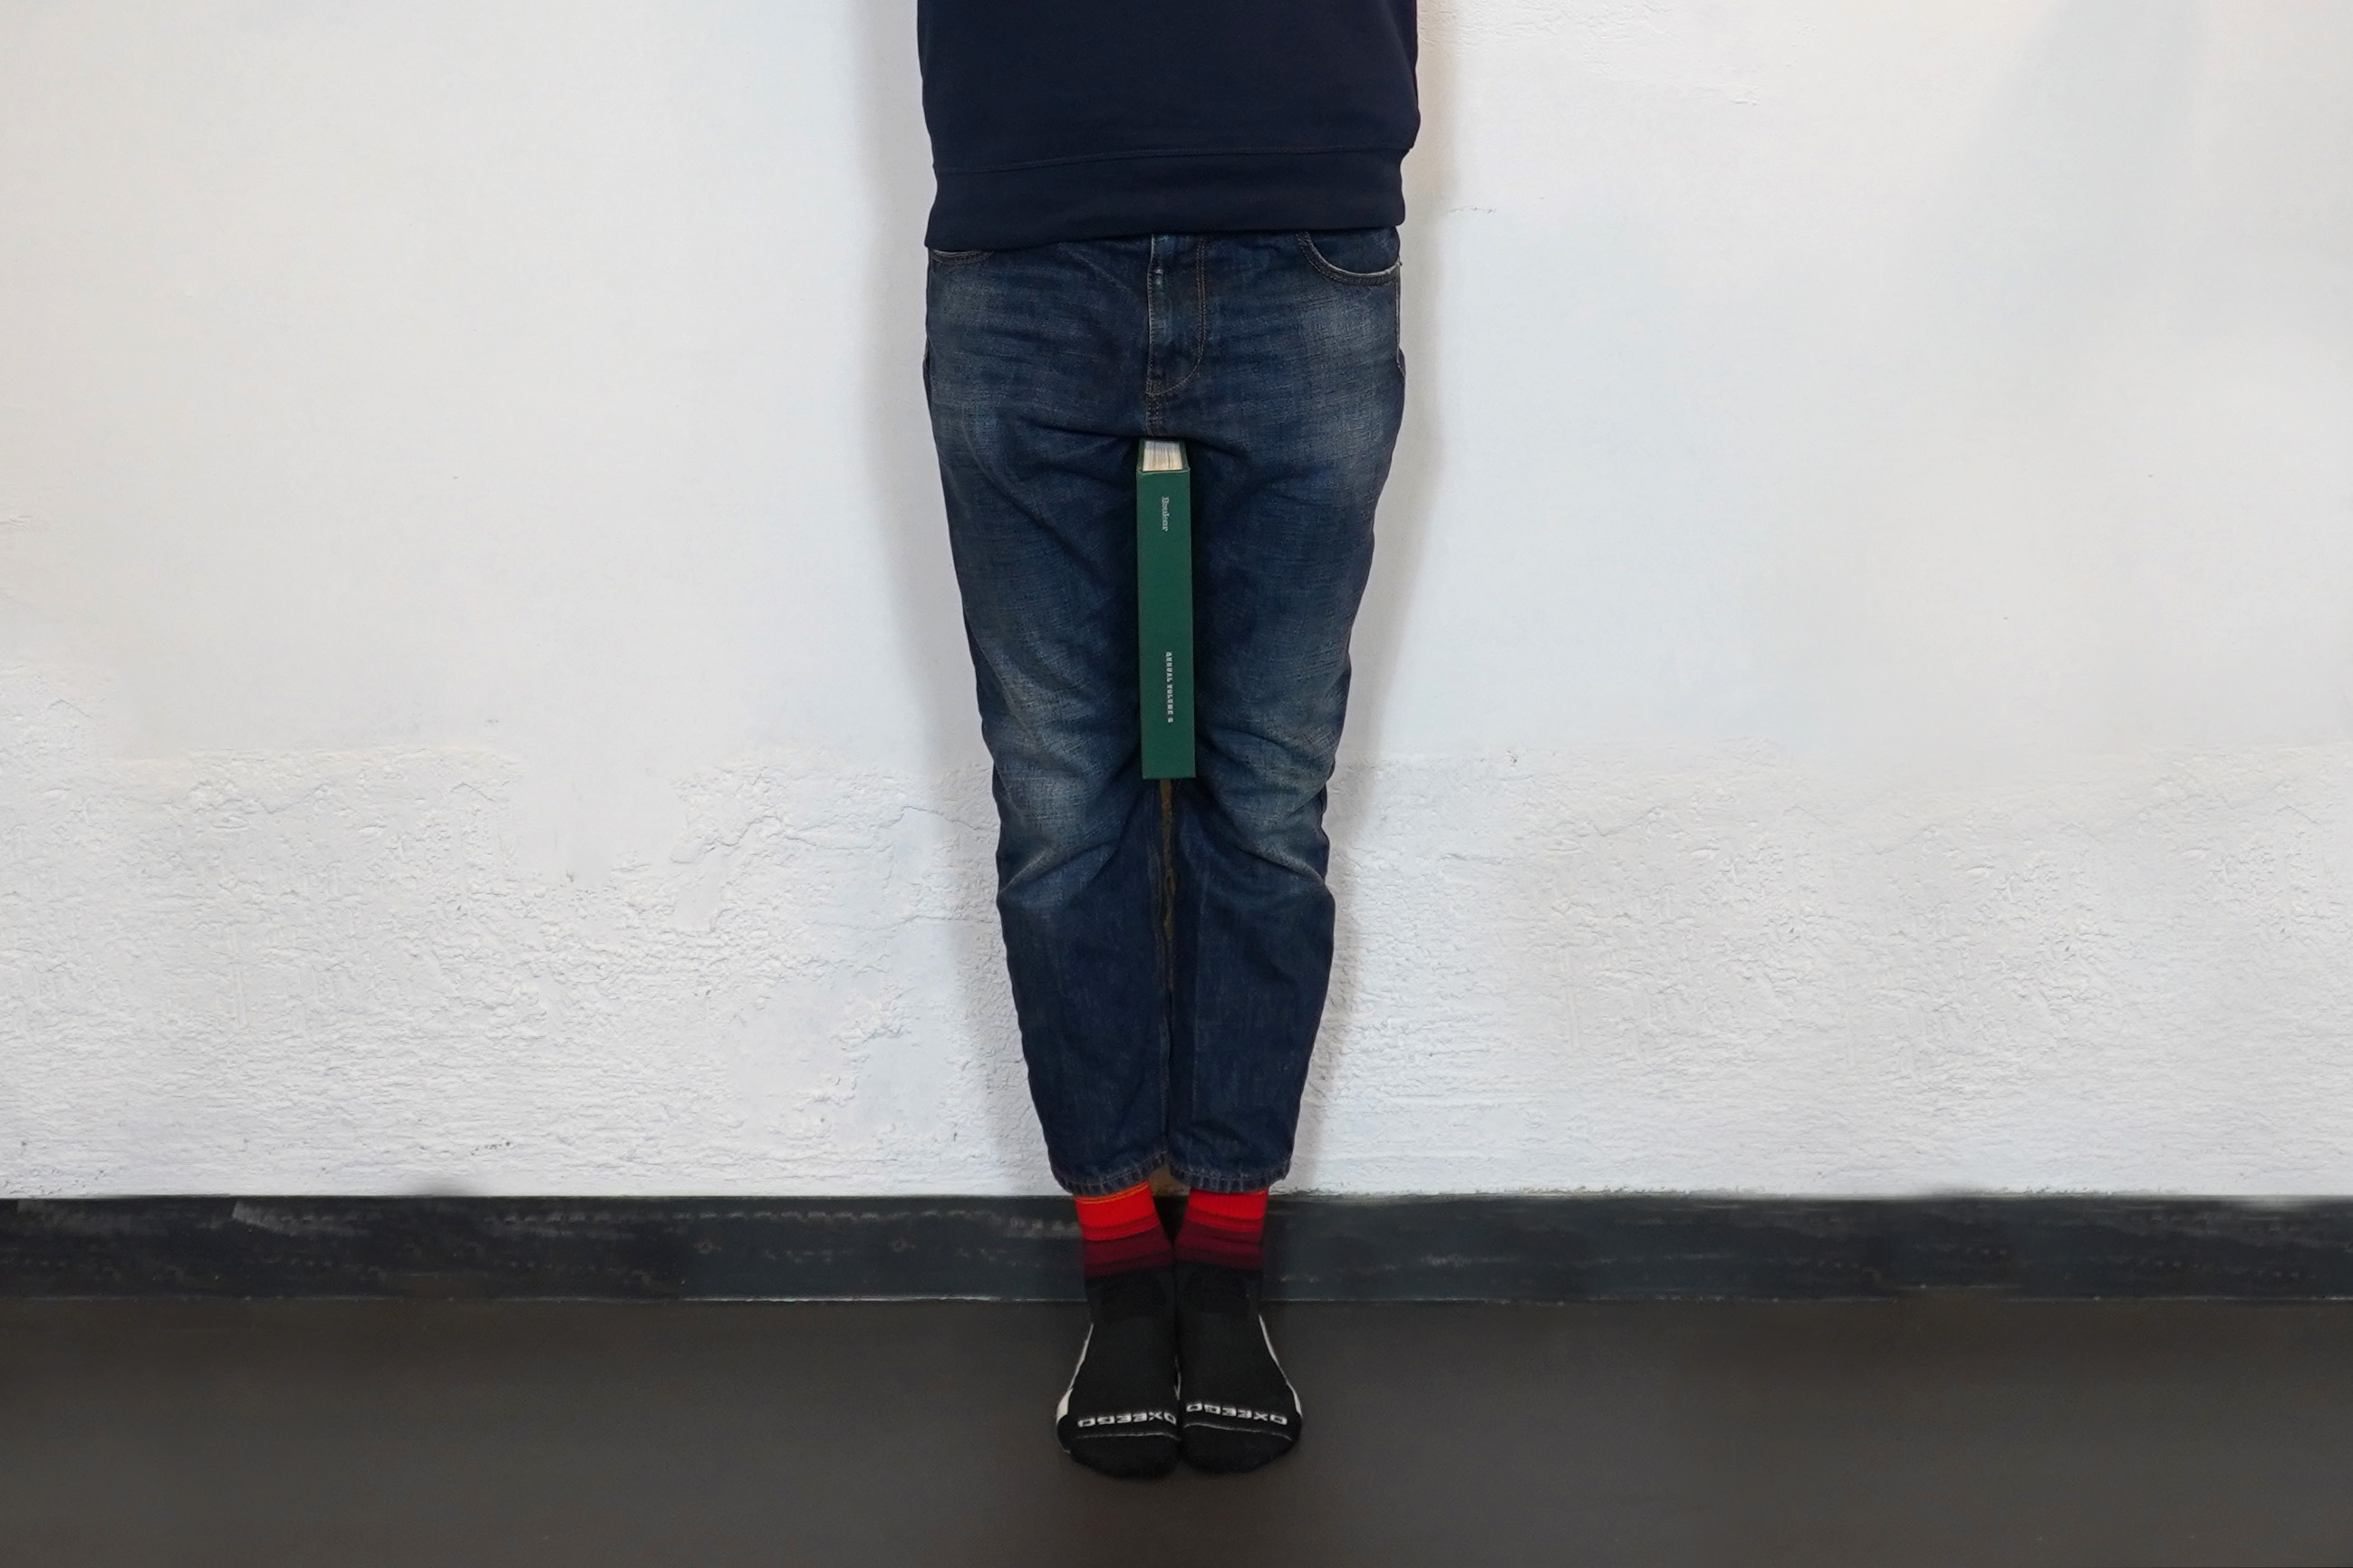
The horse must be multiplied by 0.883 to obtain the initial saddle height. For example: with a horse of 80cm, the measurement of the saddle height is 70.6cm.
How is this measure determined? The meter is run from the bottom bracket axis (the center where the cranks turn) along the seat tube to the top of the saddle.
Method 2
If you do not have much time to set the saddle height, you can position yourself next to the bicycle and lift the saddle so that it touches your side. It is a fast method, which however requires an immediate bike ride to evaluate that the saddle height is not excessive.

In both cases, once you have adjusted the height you have to check that it is correct.
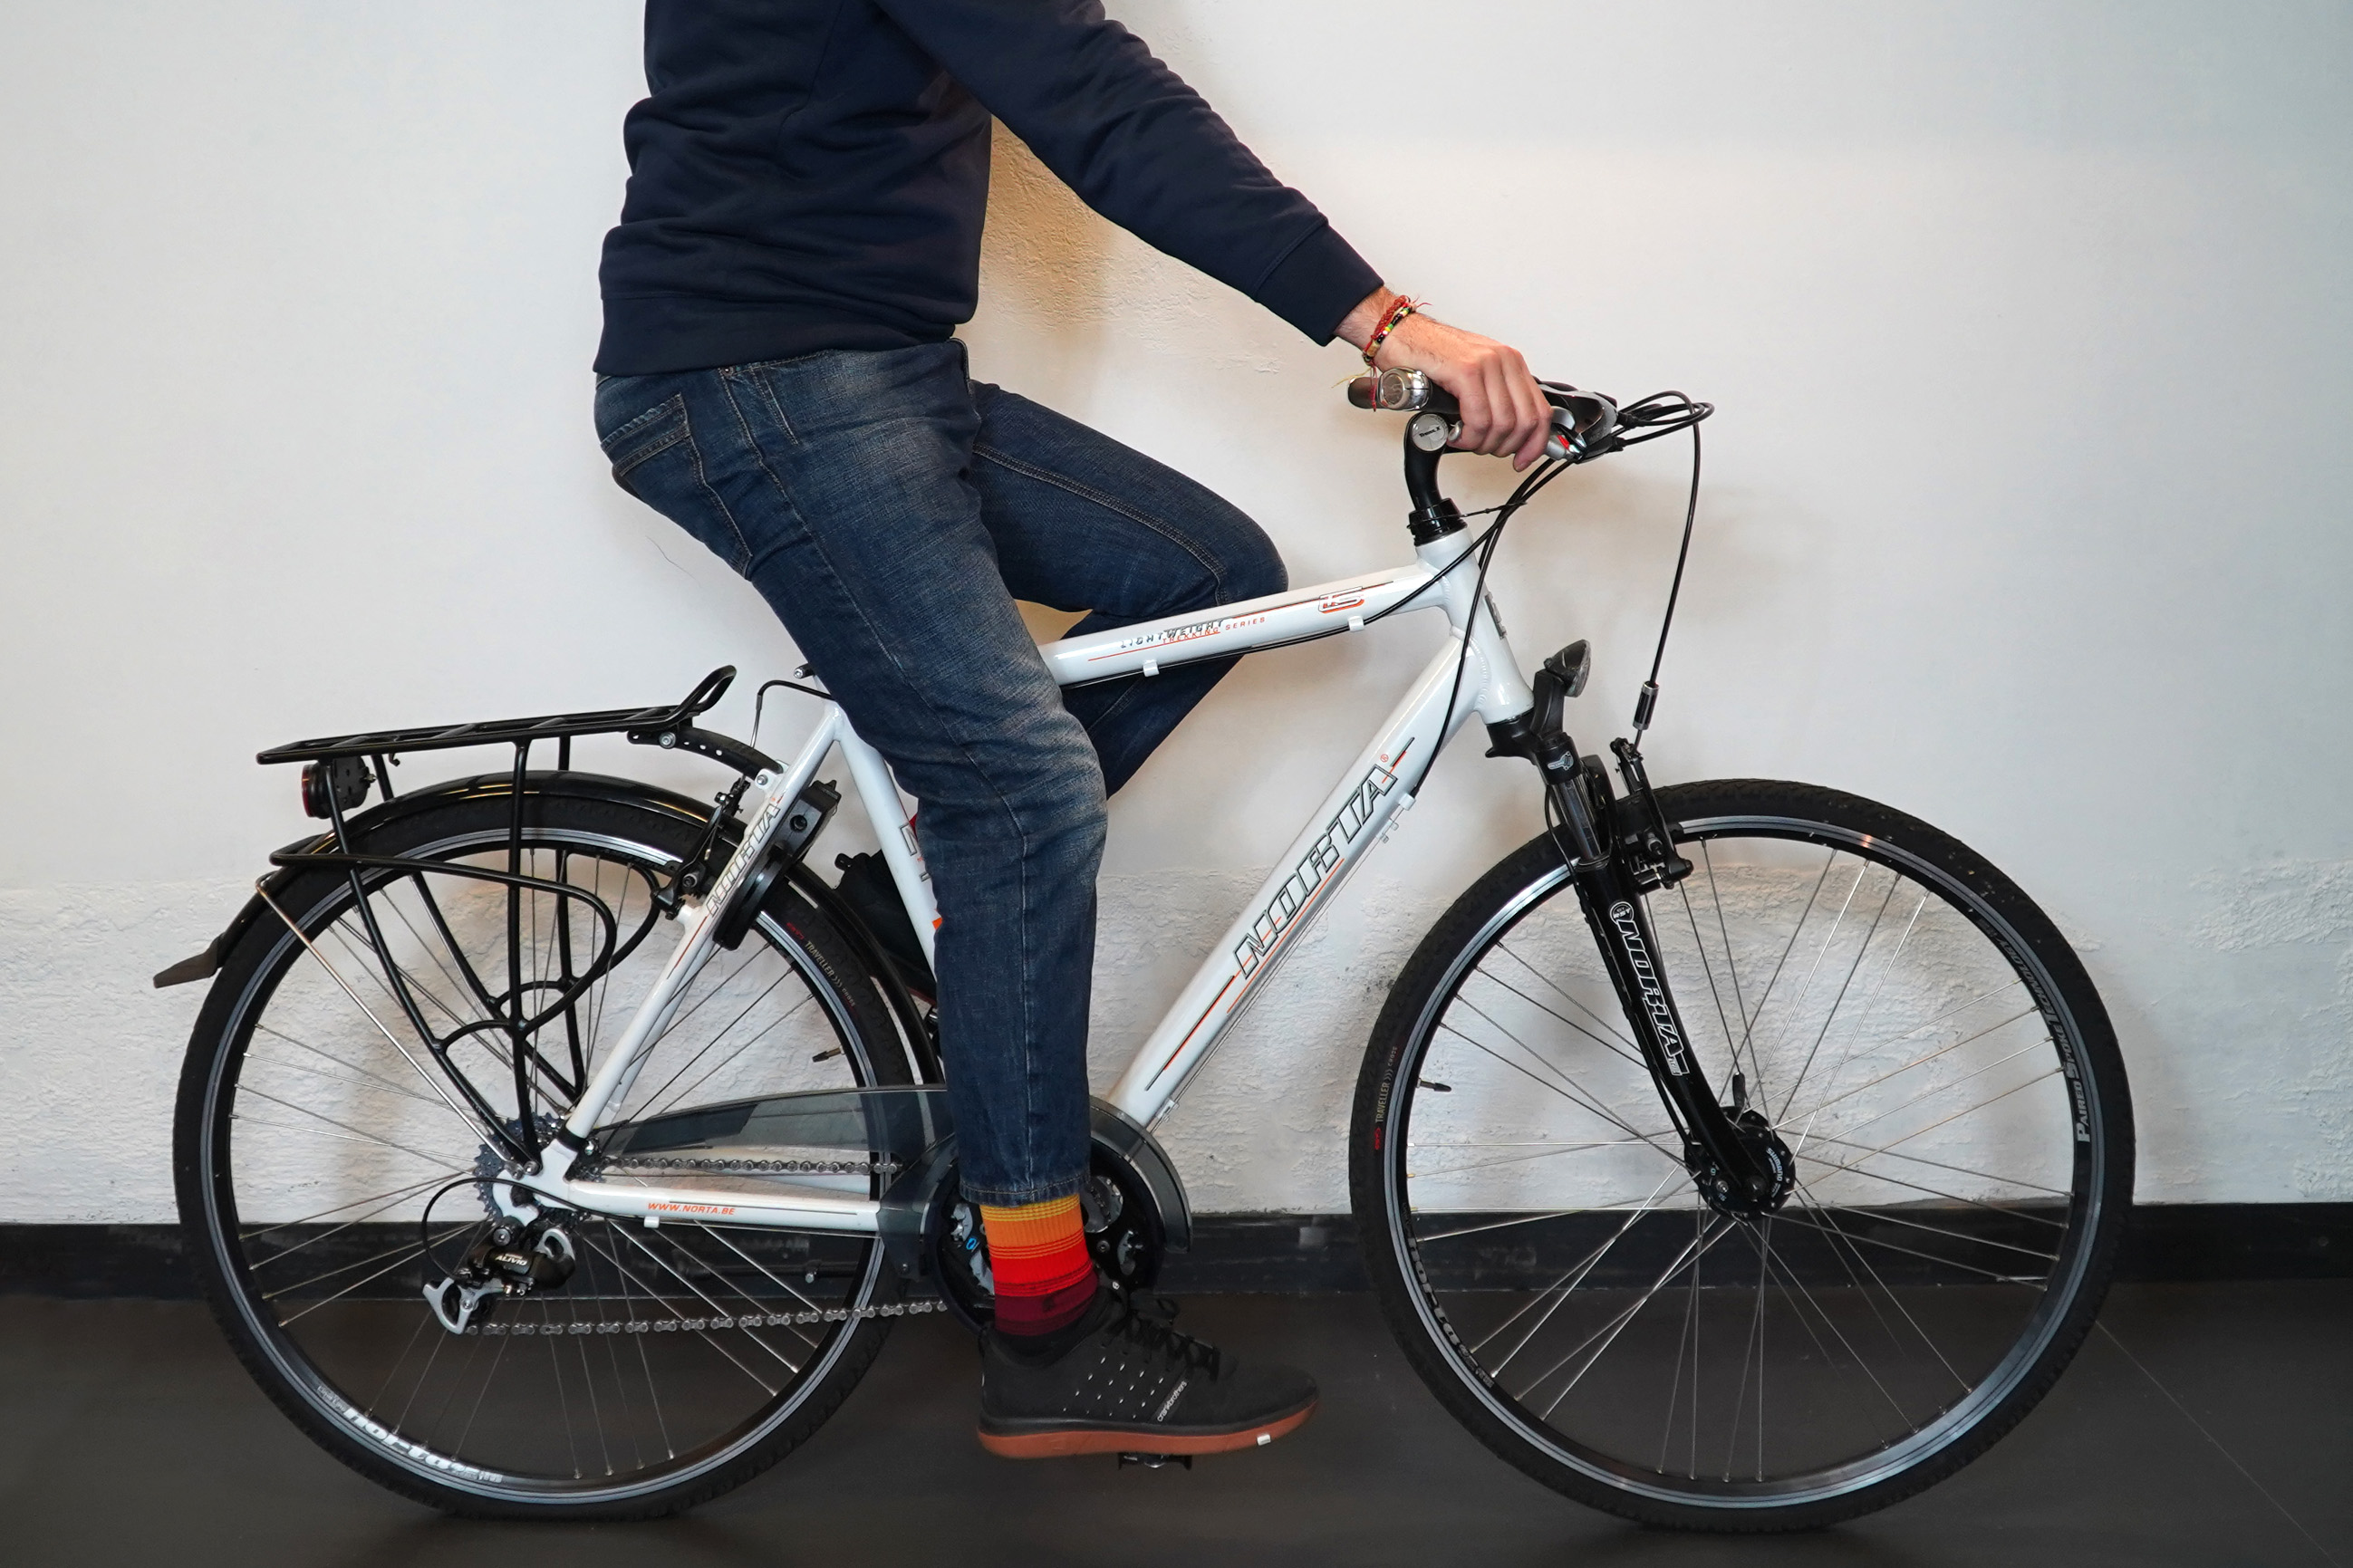
Place the bike against a wall or on a pedestal, climb on it and bring your right foot to the bottom, dead center. In this position (with hands on the handlebars) take a picture and observe: the leg must not be fully extended and the foot must be slightly inclined with the tip down.

If the leg is straight and the foot very inclined, lower the saddle by a few millimeters and try again.
If, on the contrary, the leg is very bent and the heel is lower than the tip of the foot, it means that the saddle is too low, so you can raise it a few millimeters and try again.
Continue until you find the right compromise and the pedaling seems fluid.
2. How to determine the correct saddle setback
To determine if the setback is correct, get on the bike, bring your right foot into the push phase, or bring the right pedal straight and parallel to the ground towards the front wheel. Take a picture and look at your right knee: when pushing, the front edge of the patella is in line with the pedal.
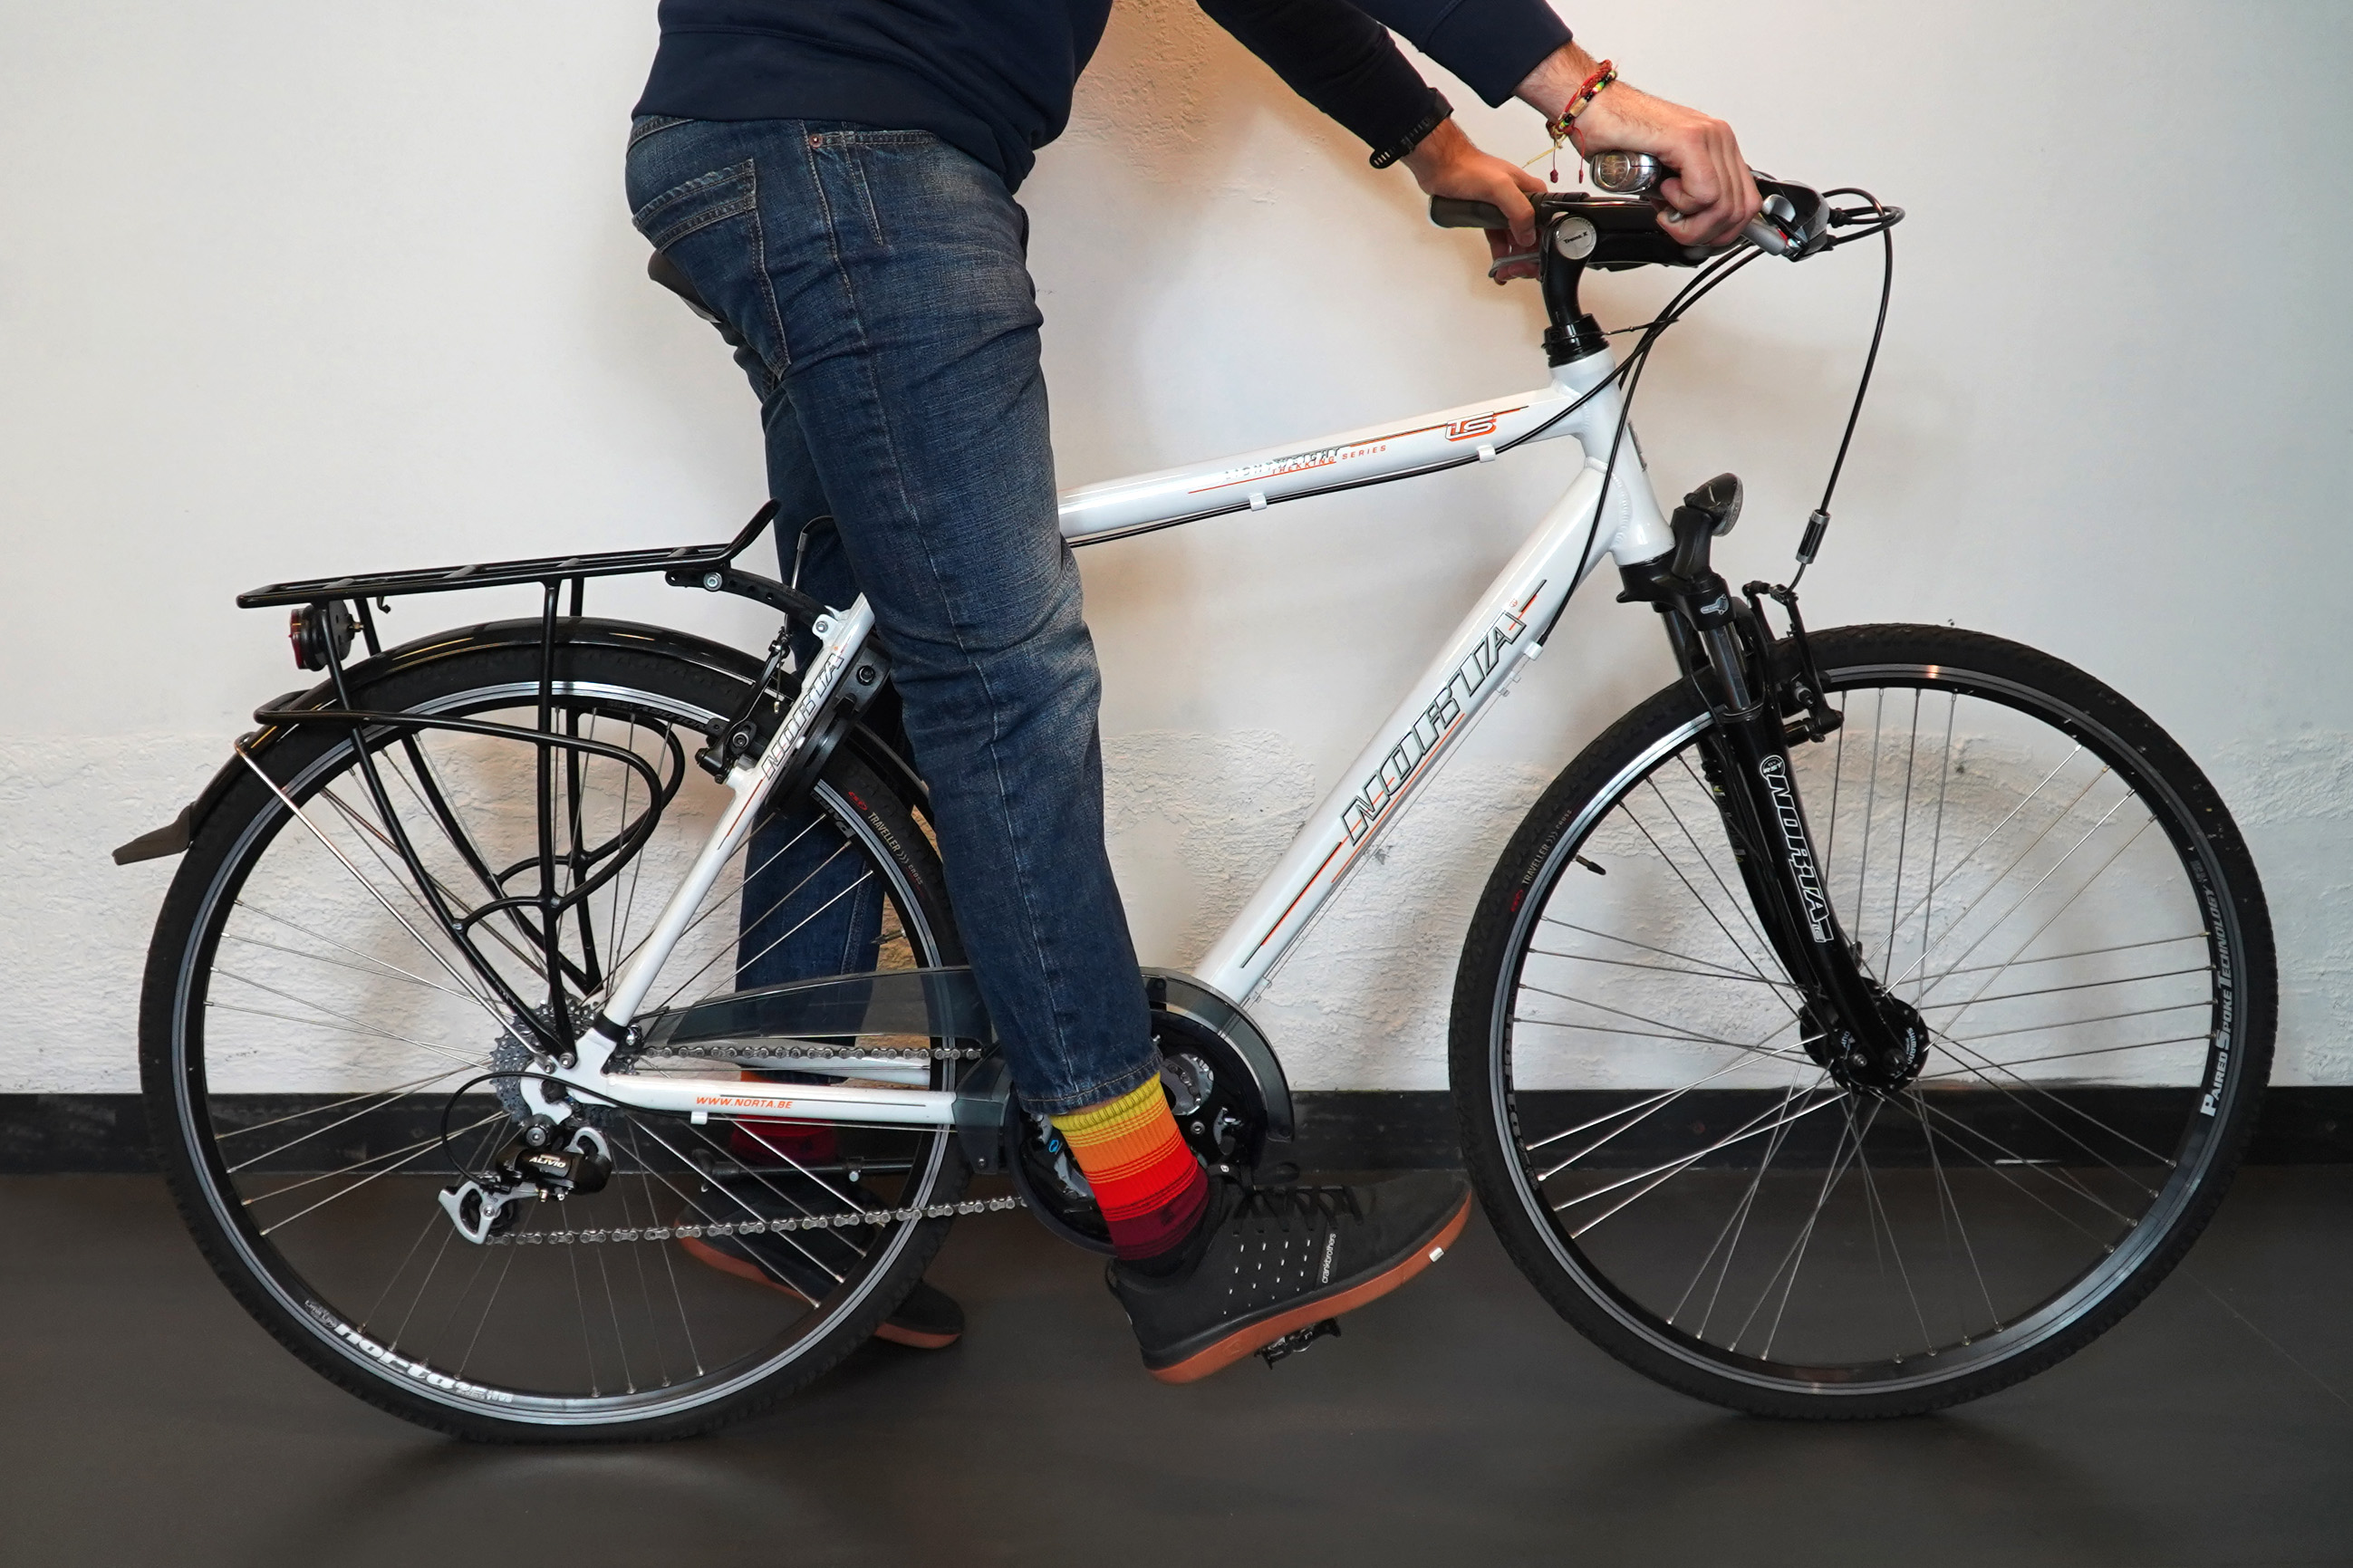
If the tip of the knee, or the front edge of the kneecap, is ahead of the tip of the foot, it means that the saddle is too far forward. If the knee is further back than the heel, it means that the saddle is too far back. How to do this? Move the saddle forward or backward (according to your situation) by 3mm at a time and go back up.
Obviously do not seek perfection but try to approach this standard, always remembering that the position must then be perceived as comfortable while pedaling.
3. How to adjust the inclination of the saddle
The last important parameter is the inclination of the saddle: many scientific studies show that this regulation is responsible for back pain on a bicycle when it is wrong.
There is no "standard" adjustment, the position in the saddle changes from cyclist to cyclist. This depends on the cycling position (Athletic, Moderate or Relaxed), the type of bike, your anatomy and the saddle design.
To determine the correct tilt for you, you can follow these steps. Start by placing the saddle parallel to the ground: use a book or a mason's level, place it on the saddle starting from the back and reach the peak end position of the saddle with zero inclination.
Then get on the bike and pedal, there may be three situations:
1. The pelvis moves correctly and you do not feel discomfort in the genitals: the angle of the saddle is correct
2. Feel the pelvis blocked in the movements and a pressure under the genitals: the nose of the saddle is still too high, it is advisable to slightly tilt it a few degrees;
3. While pedaling, slide forward and feel a lot of load on your arms: the saddle is too inclined downwards. Decrease the angle and slightly bring your nose upwards and try again.
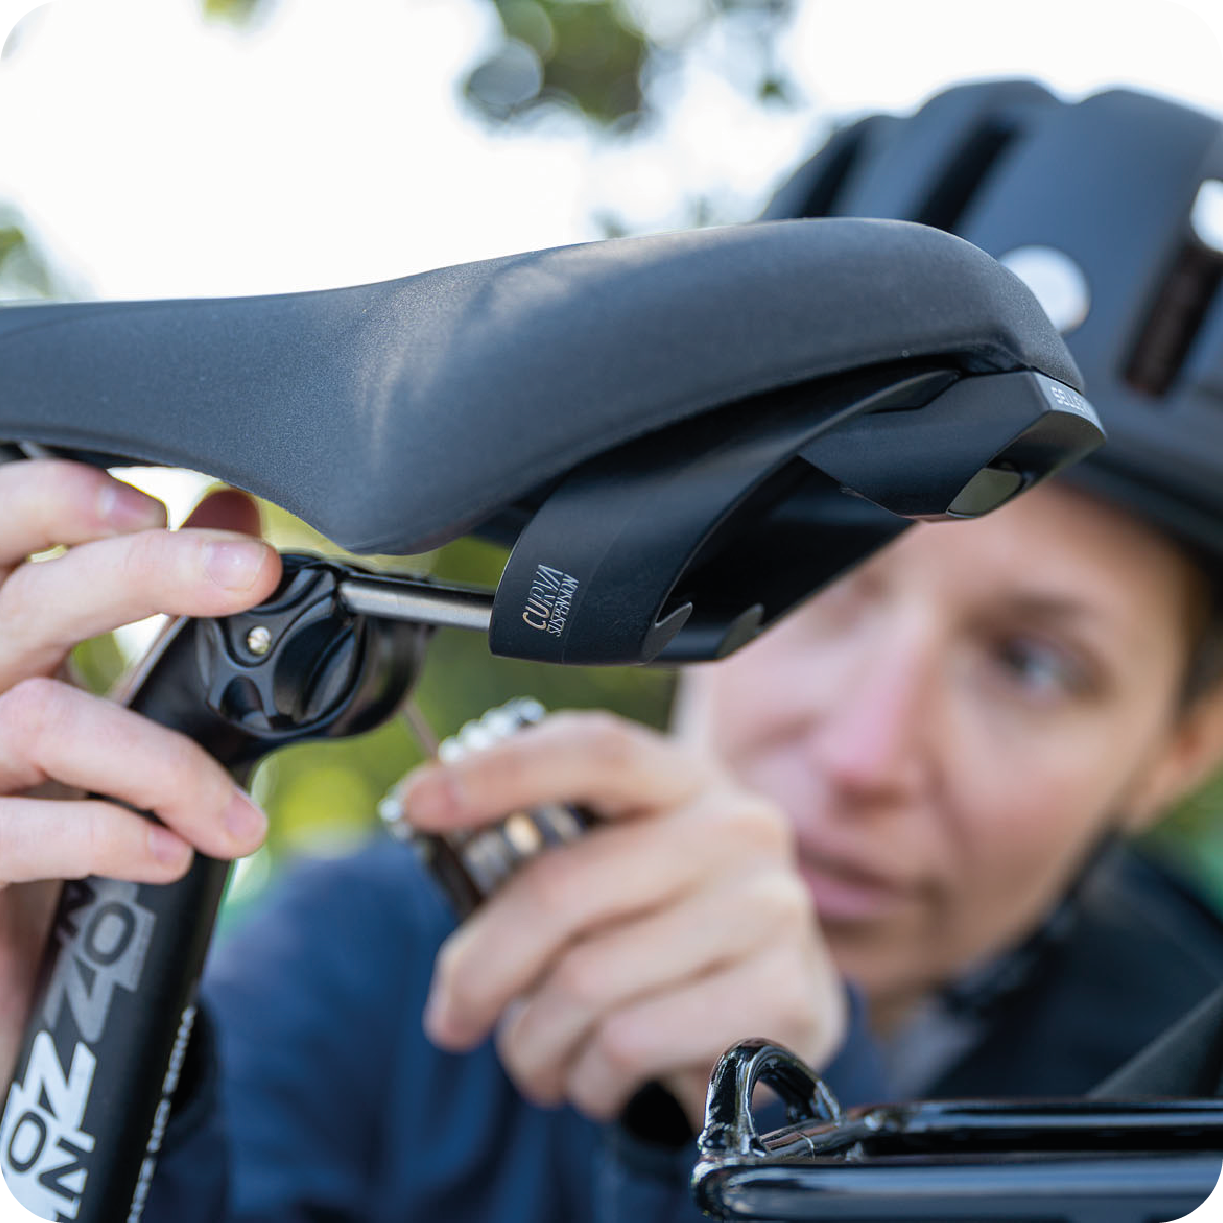
Once these three adjustments have been made, all you have to do is tighten with a torque wrench (without exceeding the torque recommendation indicated by the bike or component manufacturer) Or, in any case, simply firmly tighten the seat post collar bolt. Finally, grab the saddle firmly at both ends and try to move it: the saddle must not move.
Now that the saddle is installed and correctly adjusted, we wish you good a ride!